
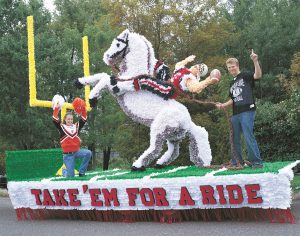
Creating parade floats can be overwhelming. If you’re making a festive display for Christmas, Fourth of July or any other holiday, Parade Float Supplies Now has a huge selection of seasonal, decorative items you can mix and match to build a holiday parade float you can be proud of. Come up with your own idea and build your float from scratch with our holiday supplies or make it easier and grab a complete parade float decorating kit, with everything you need for a unique jaw-dropping design. Here are a few tips and ideas to make your parade float the best one yet:
Covering Your Parade Float
The first step is covering your parade floats vehicle. Floral sheeting is a durable and flameproof decorating material that is available in a variety of colors, and is perfect for covering your entire float bed, or creating smaller float elements. is perfect to add a pop of color to the edges of your parade floats, create backdrops, or add depth to elements on your float. Use festooning, garlands, and twists to cover the edges of your parade floats, or for decorations on doorways, arches, and tables. There are also vehicle decorating kits to make it easier to get the basics finished.
Parade Float Decor
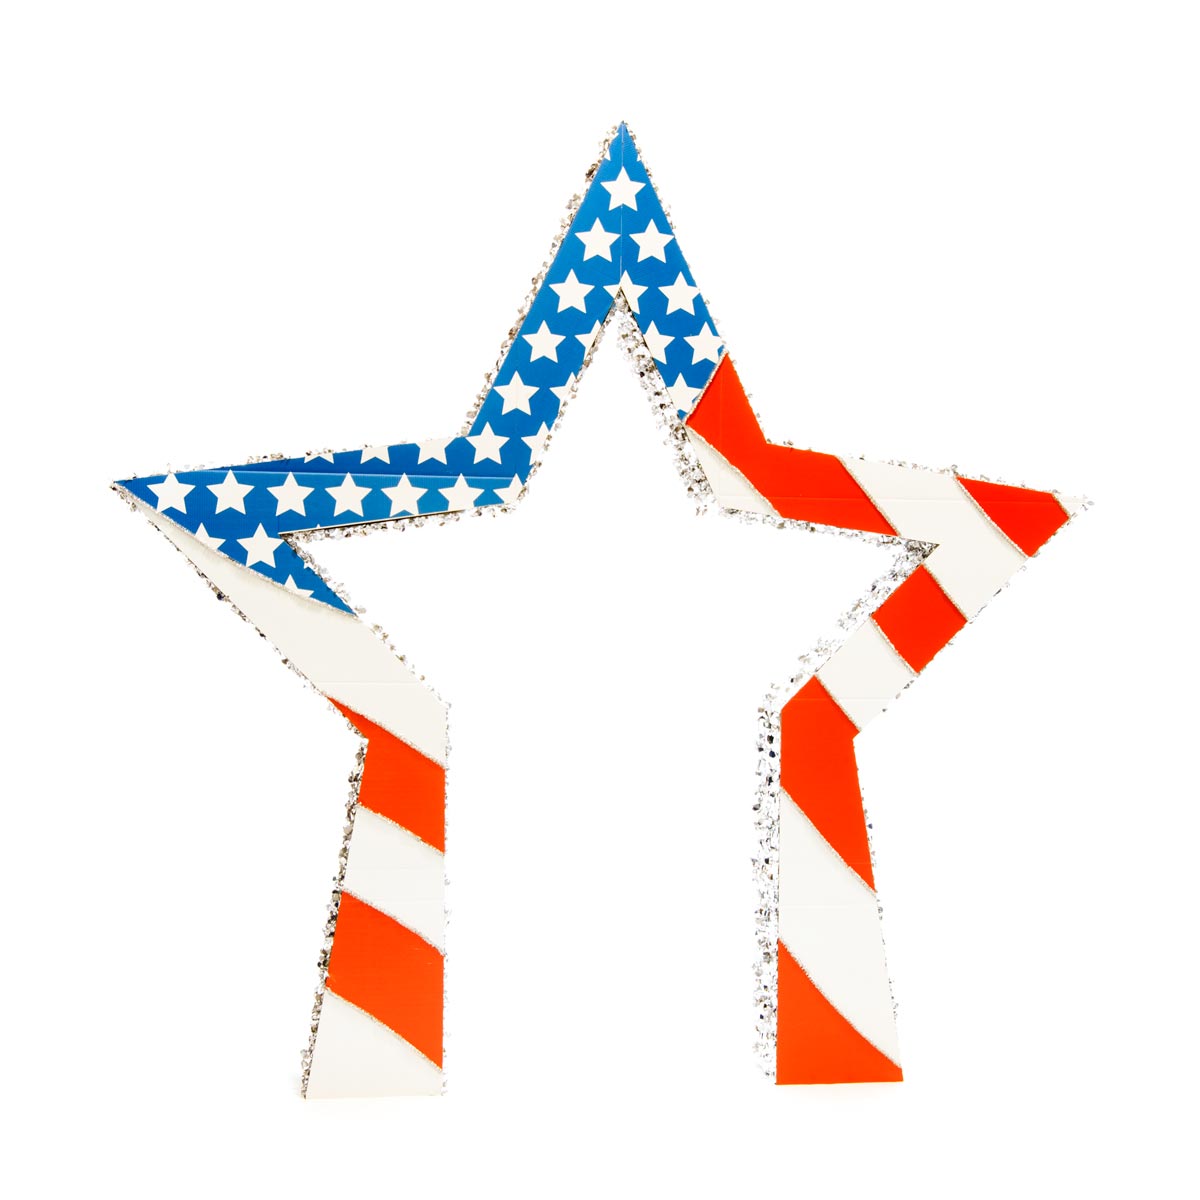
For pure, festive flair, there are plenty of huge parade float items to display, like holiday lettering, the or Star Arch. These items have colorful, holiday themes, and are a huge focal point when you add them to your parade float. Some of them can be upwards of seven, eight, or nine feet high! Stars, ornaments, and more help your float catch the eye of any parade audience.
When you have your big items picked, remember there’s still more to do. Think about adding some festive lights if your parade will start or continue after it gets dark. You can use these items to customize your float even if you don’t have a specific holiday theme.
Finishing Touches for Your Parade Float
Colorful, fun items like balloons, poms, and curling ribbon help you add finishing touches no matter where you need them. If you’re designing a float for another reason, these items are helpful for making everything look perfect.
When the day has finally arrived, make sure you have something to toss to the parade viewers! Hats, confetti poppers, beads, candy, and even custom stickers give you plenty of options for fun holiday giveaways. Grab a to make handing them out fun.
Simplifying the Process
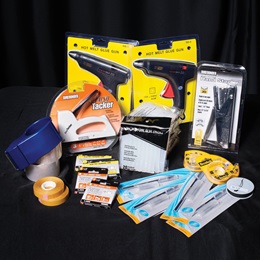
Building a complete parade float can be time-consuming and overwhelming. We offer all of the tools, supplies and unique to take the stress out of your event, so you can focus on celebrating the holiday and having a great time at your parade.